Ks2-Ks3 WWII modelling project.
Easy to make WWII Pillbox diorama for schools.
Parent supervision required !!
For this Simple-Ks2-Ks3-WWII-modelling-project you will need: An average Cereal sized Cardboard box or craft card.
Ruler or set square.
A craft knife or Scissors
Pencil or pen.
Acrylic or watercolour paint.
A paintbrush.
PVA adhesive or sticky tape.
Glue spreader or glue stick.
Modelling foam or similar. (Paper Mache can be used instead.)
In the third part of this simple-Ks2-Ks3-WWII-modelling-project we will be putting the WWII Type 22 Pillbox into a scene to make it more realistic.
Simple Ks2-Ks3 WWII modelling-project.
How to make the WWII land defence diorama landscape.
For this last part of this free WWII modelling tutorial use an old piece of packing foam if you have one or Modelling foam. Paper Mache can be used instead. In the pictures I used a piece of foam from an old mattress to make my WWII-modelling-project hard landscape.
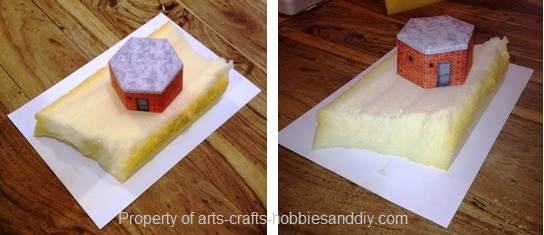
To start, first take a piece of card and place it down as a base. Card is better as it is slightly more rigid than paper. When the model's almost complete any extra card around the edges can be trimmed. Next take the foam and place the model WWII pillbox onto it to get an idea of what you are trying to achieve.
KS2-KS3: Modelling with Paper Mache
If you choose to use paper Mache I advise that you make the base first before placing the model WWII type 22 Pillbox on top.
Once the base is finished you can then place the pillbox on top, draw around it and then fine tune the base if you think it needs it.
Having placed the WWII pillbox on the foam I now have an idea of how I want it to look.
Firstly I will roughly shape my foam by carefully cutting pieces off until I achieve a shape that looks appropriate. Next I drew around the Pillbox and then cut a pocket to allow the pill box to sit lower in the landscape as most pillboxes where either built low in the ground or the sides where banked up to make them less visible to the enemy.
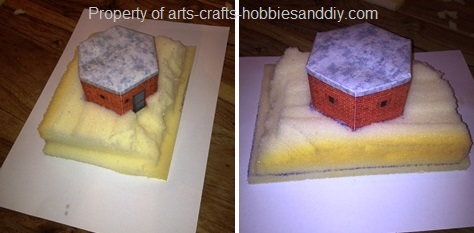
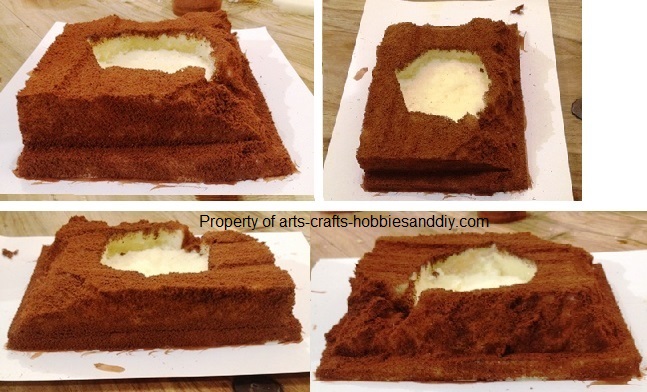
Now fix the foam to the card using PVA adhesive before painting a base colour onto it. Once the PVA has dried apply a base coat of brown water colour by mixing equal parts of red and yellow and then carefully adding some blue to get a medium dark brown. With the paint mixed I will now paint all of the sponge as shown below.
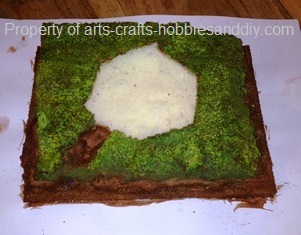
Once the base layer has dried mix up various shades of green using Yellow and blue in varying quantities to give a varied palette of greens. Now apply the greens lightly over the brown base layer to give the effect of grass or meadow.
How to add details to a WWII model diorama.
While waiting for the base coat to dry make a few bushes and clumps of grass out of the foam off cuts. Cotton wool, old wool strands or bits of tissue could be used instead. With your paints mix up a green colour using yellow and blue and then lightly coat the off cuts. Vary the shades of green by adding more or less yellow and blue and paint individual pieces. Maybe even add some brown as can shown below. When the off cuts have dried they are ready to be added to the model.
If you do not have any of the above you can purchase a varied amount of model landscaping materials using this sponsored link.
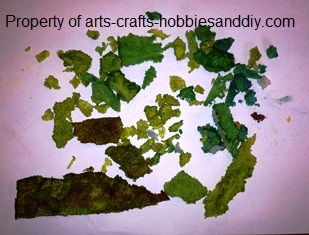
Once the main landscape block and the off cuts have dried take the block and carefully cut away any spare card. Try placing the off cuts in vary places to form tufts and bushes before gluing to see how they look. When you are happy with how they look begin adding the painted of cuts using a small amount of glue. Try not to add to much as sometimes less is more. Once that is complete you can touch up the model landscape using some paint if necessary.
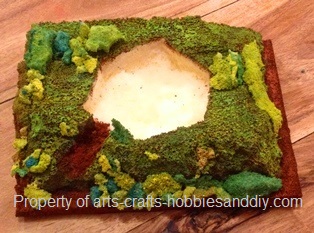
With the main landscaped block complete it is time to add the WWII type 22 pillbox to the scene to complete the project.
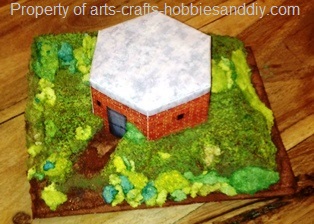
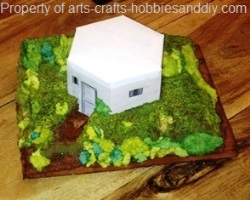
The Simple-Ks2-Ks3-WWII-modelling-project is now complete. For more WWI and WWII projects visit our How to make page.