Drawing portraits from a grid.
Drawing portraits from a grid.
Sketching the outline.
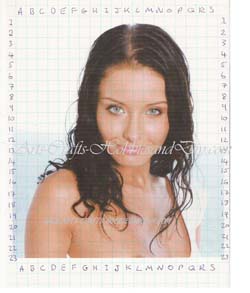
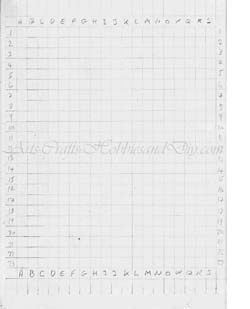
Once you have finished setting out the picture you are copying and the sheet of paper to reproduce it on you are now ready to continue this tutorial on drawing portraits from a grid. If you have not yet set out the above See here.


How to draw a portrait, Step 2:
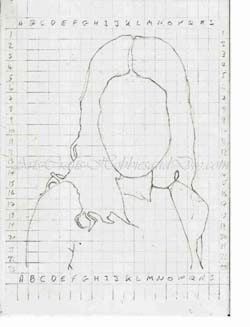
You are now ready to begin sketching the outline of your portrait. To do this I usually use a 3B or HB pencil. As with the setting out above it is important that you do not press too hard with your pencil. At this point, you are only forming the outline shape of your portrait. You do not want to indent the paper as it will show when you shade and blend the details later.
Take your time and use your reference points at all times. This is your work and there is no rush. Speed will come with practice. If you are still unsure of exactly where a point comes on your sketch you can either measure it. Make sure that you transfer the measurement from your grid picture to exactly the same place on the grid of the picture you are drawing. If you have a scanned copy of the image with the grid in place stored on your Pc you can view it in your editing suite and zoom the image to get a closer look at where everything is in relation to the grid on your sketch.

Drawing portraits from a grid: Where to start:
Find somewhere light to sit while you work, preferably by a window or in a well-lit area. Begin drawing the outline from the top of the page. Make sure that you always pay attention to your reference points. It is easier than you think to place, for example, the eyes or nose a square to high or low, or to the left or right. You need to concentrate at all times. This is where your reference points will help.
If you start to feel that everything is blurring into one or you are finding it hard to concentrate put your picture down. Come back to it when you are ready to start again. I sometimes take days between sessions depending on my mood. Being tired is also a nightmare when trying to draw. No matter how hard you try or how long you stare at the picture nothing seems to fit.
Keeping a copy of the original picture.
Tip 1: Keep a copy of the original picture to hand if you have one as it will prove invaluable as a good reference point as you build up your picture. This is another reason why I always copy my pictures onto my pc.

Drawing portraits from a grid: Building the portrait.
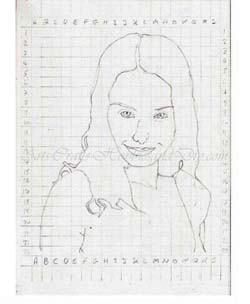
Once you have finished your outline you are ready to start to bring your picture to life.
At this stage, you may be thinking, " that doesn't look anything like the original picture", but you will find that once you start building the picture by adding the hair and eyes your portrait will start to take on a more realistic appearance. You will probably have noticed also that I haven't drawn in all of the hair. Especially the hair that is trailing over her left shoulder down to her breast. I will add this type of detail later as I near the end of the portrait as I find that if you add the detail too early it can lose its sharpness and become smudged and ends up blurring into the rest of the picture.