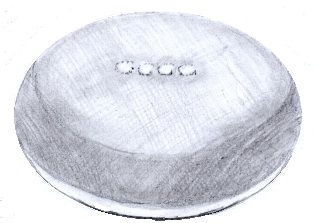
How to draw a smart speaker.
Amazon 3rd Gen Echo dot.
Google home assistant and Home Mini.
How to draw a Echo dot smart speaker.
Free tutorials on how to draw a smart speaker.
Below you will find quick and easy to follow tutorials on how to draw a smart speaker. To begin with I have chosen the Echo Dot (3rd Gen) - Smart speaker with Alexa. The Google home assistant and Google Home Mini but there are many other types of smart speaker, voice activated speakers and virtual assistants available on the market.
How to set up an Echo dot outline.
Using a ruler, lightly draw a rectangular box with a length that is slightly less than twice its width. This of course, can also be done freehand if that is your preferance.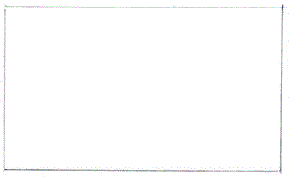
Setting up the box.
Find the center of the rectangle by lightly drawing a line from each corner to form an X, as I have shown. Then divide the shorter sides of the rectangle into three equal parts. Also draw a vertical centre line, as can be seen below.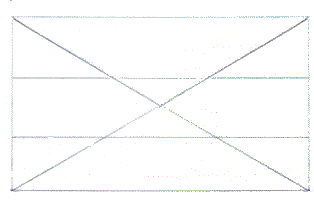
How to draw an echo dot smart speaker shape.
To draw the Echo Dot shape add a radius to each corner of the rectangle. Draw a long radius in the top and bottom thirds making sure that all radius's appear equal, as can be seen below.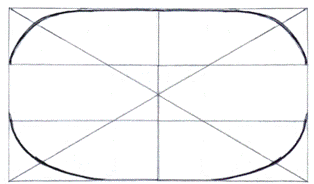
Drawing the top of a smart speaker.
From just above the line of the top third draw a curved line that intersects with the diagonal line and curves back into the edge of the Smart speaker outline, as shown. Then draw a second curved line just below the line to form the divide between the smart speaker grill the top of the unit.
How to add control buttons to a Amazon Echo Dot.
There are four buttons on the Amazon 3rd gen Echo Dot. Two volume up and down buttons that are located one above the other. Additionally, to the left is a mic button off and to the right there is a action button. Also there is a four-microphone array which are located beneath each button.
Using the centre line that we added earlier draw the volume up and down buttons, as shown. Then, add the Alexa button and the microphone mute button. It is important to remember that we are not drawing the smart speaker from above so the buttons need to be oval as opposed to round.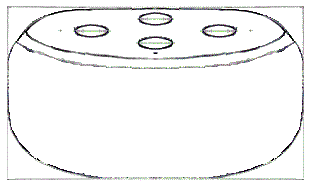
How to draw a fabric grille.
To draw a fabric grille on a voice-activated speaker use a hatching technique. First, hatch in one direction at approximately 45°. then repeat the process going in the opposite direction until you have completely filled the speaker area. As can be seen using this technique creates a convincing grill effect
Now lightly shade the speaker trim before filling in the top and control buttons.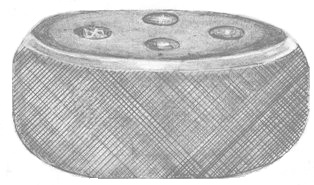
How to draw a Google Home assistant voice-activated speaker.
Setting out the home assistant.
Draw an upright rectangle with a ratio of 4:7. For example a 40mm width and 70mm height. Then divide its height into seven equal parts and its width in half as shown.
From the base, divide its height into approximately seven equal parts, as shown. Then find the centre of the base and draw a line straight up. 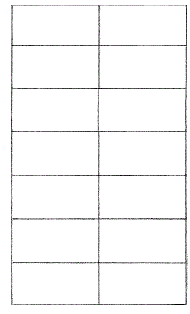
On the second line up from the base measure out 1 ⁄ 5 of the vertical spacings from the sides of the rectangle. If your spacings are 10mm the measurement will be 2mm, as shown.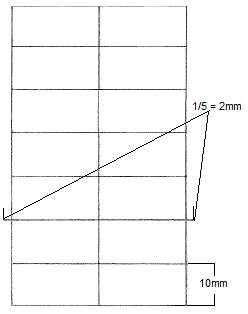
From the 1 ⁄ 5 mark draw a line to the second line from the top of the rectangle to form a slight angle. 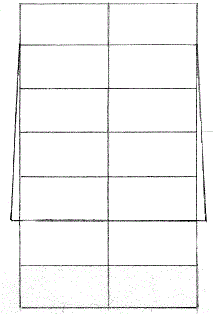
How to add the base to a Google home assistant.
To add the base draw semi curcular radius from the bottom of the rectangle to meet the lines that you have just drawn at the 1 ⁄ 5 marks. 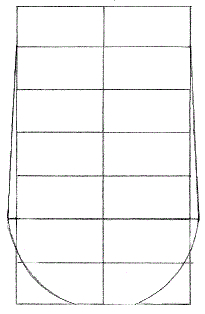
Adding the speaker grille to virtual assistant.
Add another curved line 2 sections up from the base that curves from the top line of the second section to just above the middle line of the third section and out to touch the two angled edge lines of the speaker body. This will form the edge of the fabric grille at the base of the smart speaker.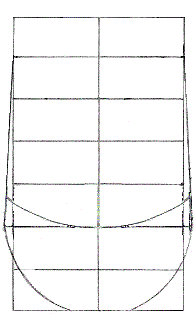
How to draw the top of a Google home assistant.
The Home assistant has a top that slopes slightly to its base so you will need to draw an oval that starts just below the sixth line and finishes just above the seventh line and that touches the edge of the voice-activated speaker body, as shown.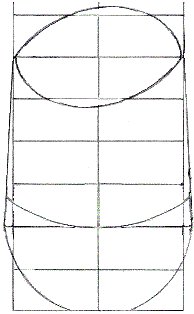
Now remove the guidelines and then add some shadow and highlights, as shown. 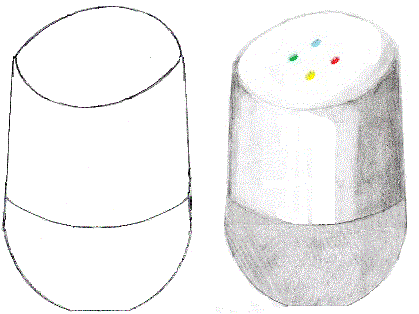
How to draw a Google Home Mini virtual assistant.
Draw a rectangle with a ratio of 7:5, for example 70mm x 50mm as shown.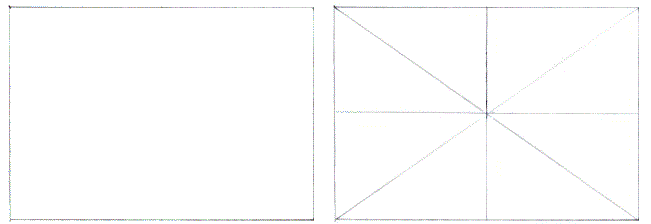
Find its center by drawing a line from each corner to form a cross. Then draw a vertical and horizontal line that intersects its center point.
Now draw an oval using the centre points and diagonals to make sure that it is even.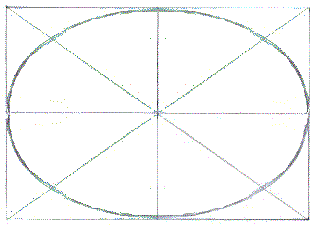
Draw a curved line just up from the bottom edge to form the base of the Home Mini hands-free smart speaker, as shown and then carefully remove all guidelines before shading in to form the unit.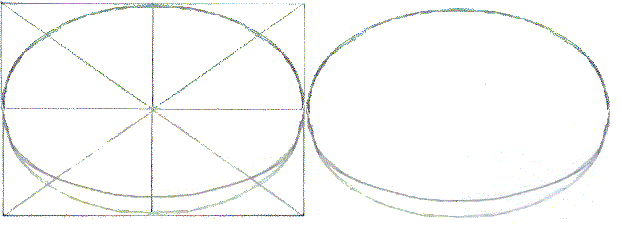
To give the Google home Mini its three-dimensional appearance lightly shade to the contours of the unit. Then form a darker area from the base to create the profile of the unit, Which is doughnut shaped, as shown. Then using an eraser pick out the four dots on the top of the unit and slightly darken their edges to pop them out.